If you’re considering have a new home built rather than opting to purchase a resale, congratulations. It’s a smart move! A new home delivers a wealth of benefits, including peace of mind from knowing that your home is protected by a builder’s warranty.
Before you start, let’s walk through the steps involved, so you’re clear on what to expect and when. Here’s a step by step, newcomer’s guide to the new home construction process.
Step 1: Site prep
The crew clears the site of trees, large rocks, and debris to prepare the property for building. If your new home will include a basement, they dig the hole for the foundation.
The footings are put in place. Concrete is poured for the foundation, and once it’s cured, waterproofing is applied. The crew then installs the basement and first-floor plumbing connections, including drains, sewer, and water taps.
The surrounding soil is backfilled to the outside of the foundation, filling in the moat-like gap around it.
Step 2: 1st Inspection
The building inspector checks the foundation to ensure it’s up to code.
Step 3: Framing
The frame of the house (wall, floor, and roof systems) are constructed and then wrapped in protective sheathing. This cover protects the frame from water seepage into the wood itself, which could lead to wood rot or mold, while providing a means for vapor to escape. The roof is added, sealing the home before the interior works is begun.
Step 4: Plumbing, electrical, and HVAC
When the framing is done, the rough plumbing, electrical, and HVAC contractors get to work, setting up the infrastructure for these systems. Vents and water supply and sewer lines are installed. HVAC installs the ductwork, heating, ventilation, and air conditioning vents and pipework. The plumbers and electricians run pipes and wire through the home’s interior walls, floors, and ceilings.
Step 5: 2nd inspection
The building inspector examines the framing, electrical, plumbing, and mechanical systems at this point. You might have different inspectors—one for the frame, another for the other systems.
Step 6: Insulation
Exterior walls, floors, and ceilings are insulated.
Step 7: Drywall
Drywall (also known as “sheetrock”) is hung. Seams are taped so they’re hidden. A primer coat is applied in preparation for finishing.
Step 8: Exterior finish
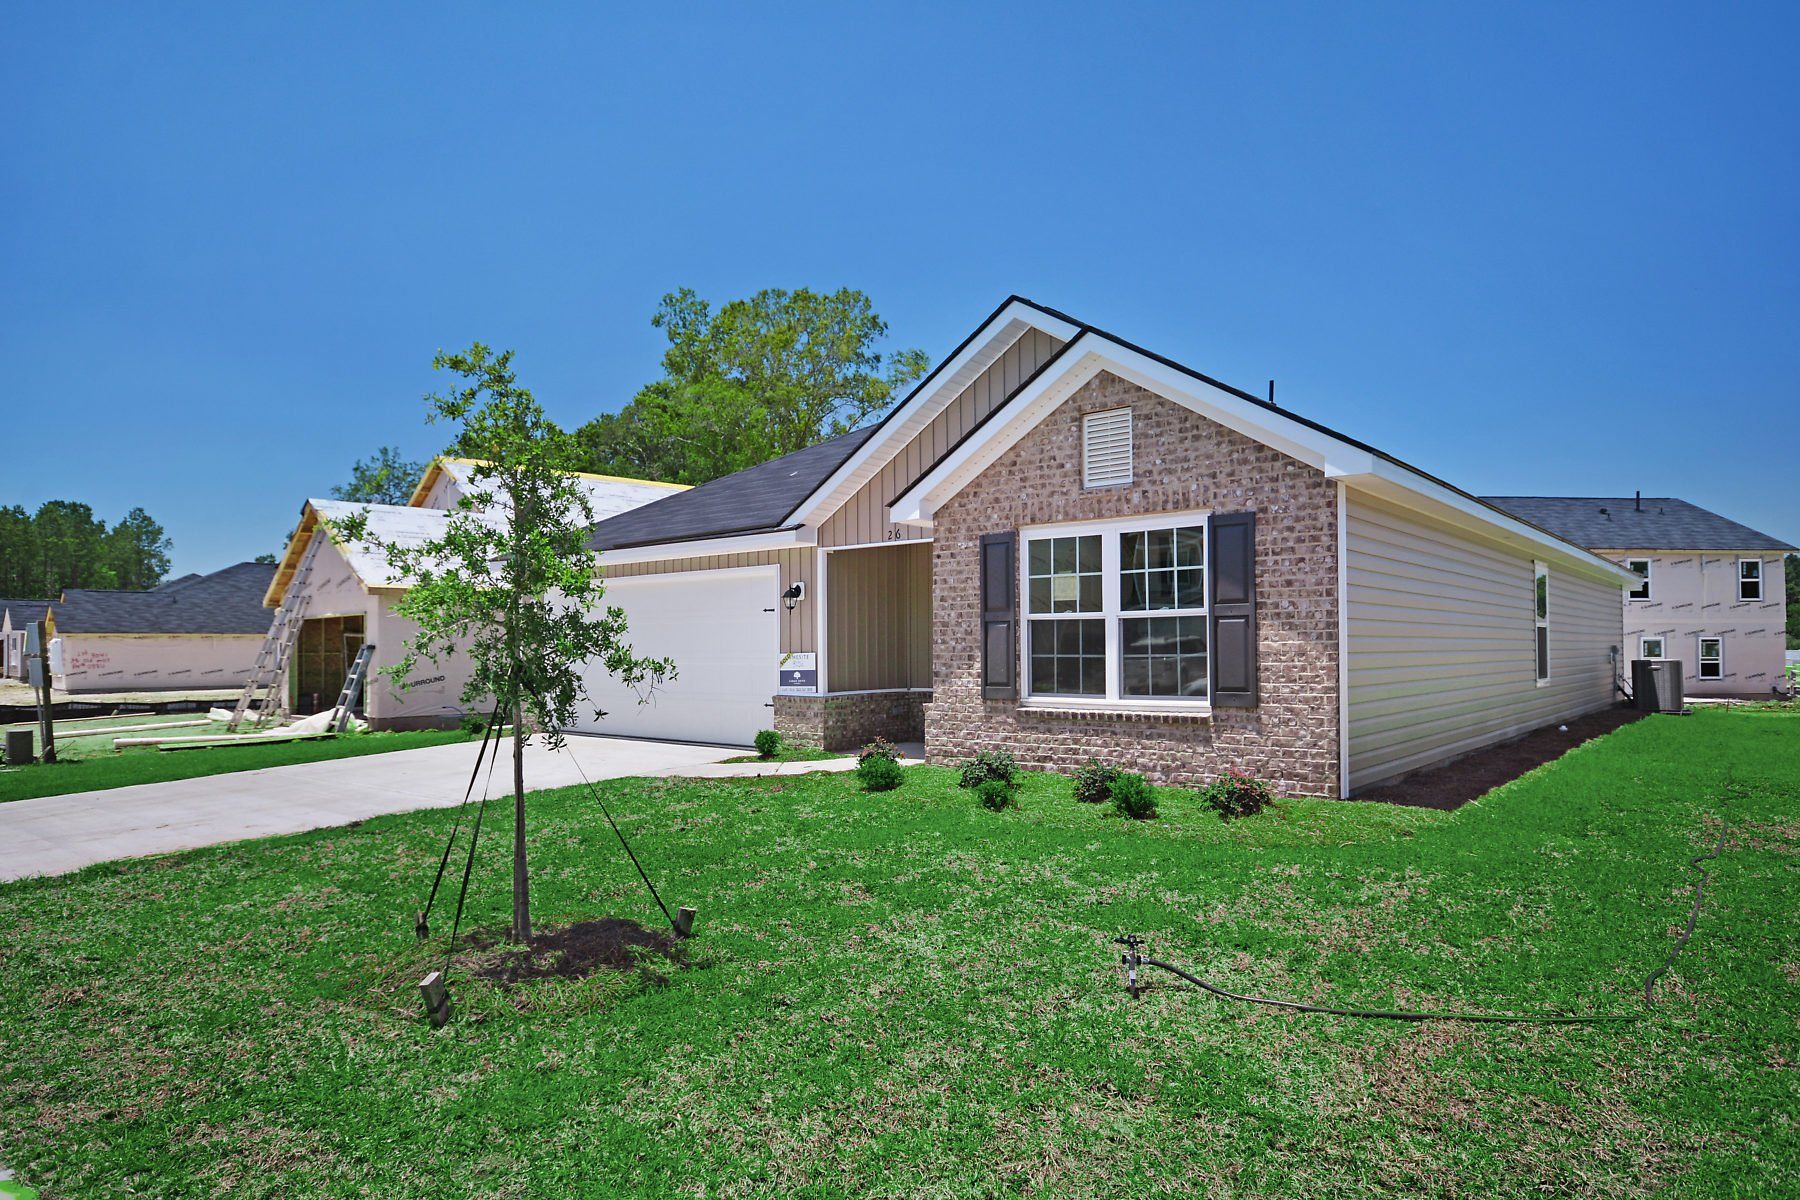
Your new home’s exterior is applied—e.g., siding, stucco, stone, or brick.
Step 9: Interior trim
The window and door trim, casings, moldings, mantels, railings, and other interior trim are installed and painted. The walls are painted or wallpapered, depending on your choice.
Step 10: Exterior walkways
The walkways, driveway, and patio are constructed at this point, after the heavy equipment use is finished. The grading is added to drain water away from the home.
Step 11: Flooring and countertops
The hard surface flooring (tile, wood, laminate) and all countertops (including vanities) are installed.
Step 12: Lighting fixtures and mechanical trims
Your light fixtures are installed, along with the outlets and switches. The electrical panel is installed. Plumbing fixtures (toilets, sinks, and faucets) are added. HVAC is finished.
Step 13: Finishing
The interior finishes are addressed in this step This includes installing carpet, and hanging mirrors, and shower doors.
Outside, the lawn and landscaping are completed.
Step 14: 3rd inspection
The building inspector completes one more assessment to ensure your new home meets all building codes. When approved, a certificate of occupancy (CO) is issued. If any concerns are identified, the inspector provides a written list, and the home will require another inspection before the CO is awarded.
Step 15: The walkthrough
Before the closing, you will do a final walkthrough with your builder and real estate agent. This is your opportunity to learn how everything works—e.g., which light switch to flick, how your HVAC works, how to open and close the windows. You also need to observe details. If there’s a nick in a door or wall, a scratch on a floor, a cracked tile, or a dent in an appliance, point it out during this walkthrough so that you can show the damage was done before you occupied the home.
Your builder will make a list of all repairs the must be completed. Determine the time frame for having all corrections completed, and get it in writing.
With good communication between you and your home builder, the new home construction process is exciting. You get to watch your home emerging from a vision to a reality!


At Smith Family Homes, we believe in building more than a house. We’re building a place to host memories with friends and family.
Quick Links
Contact Us
Call us:
912-307-3187
Email:
online@smithfamilyhomes.com
Careers & Purchasing:
careers@smithfamilyhomes.com
152 Thunderbird Dr. Ste 207
Richmond Hill, GA 31324
Prices, promotions, incentives, features, options, amenities, floor plans, elevations, designs, materials, and dimensions are subject to change without notice. Square footage and dimensions are estimated and may vary in actual construction. Actual position of house on lot will be determined by the site plan and plot plan. Floor plans, interiors and elevations are artist's conception or model renderings and are not intended to show specific detailing. Community improvements and recreational features and amenities described are based upon current development plans which are subject to change and which are under no obligation to be completed. Community Association fees may be required. Options shown not available in all locations, selections in photos shown may no longer be available or offered, can change at anytime - See agent for details.